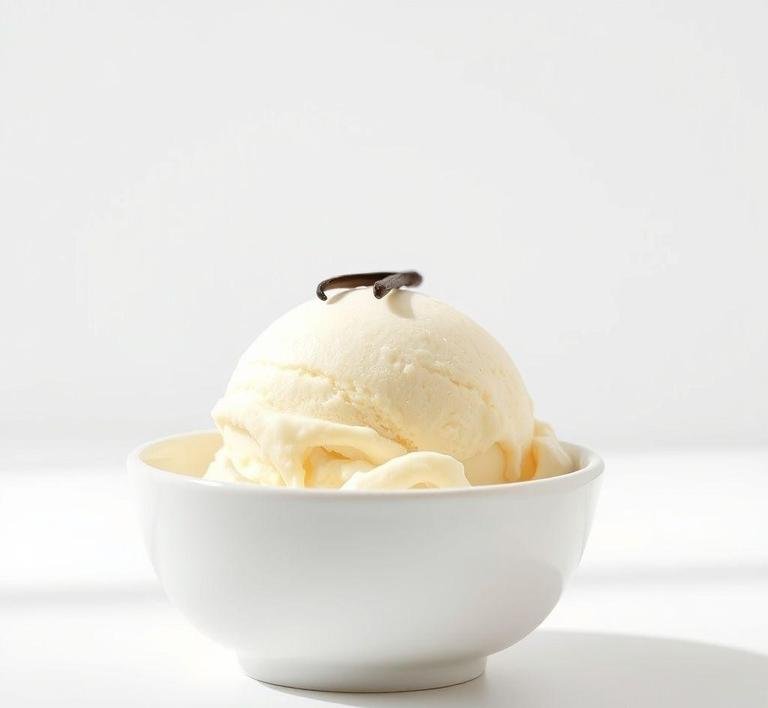
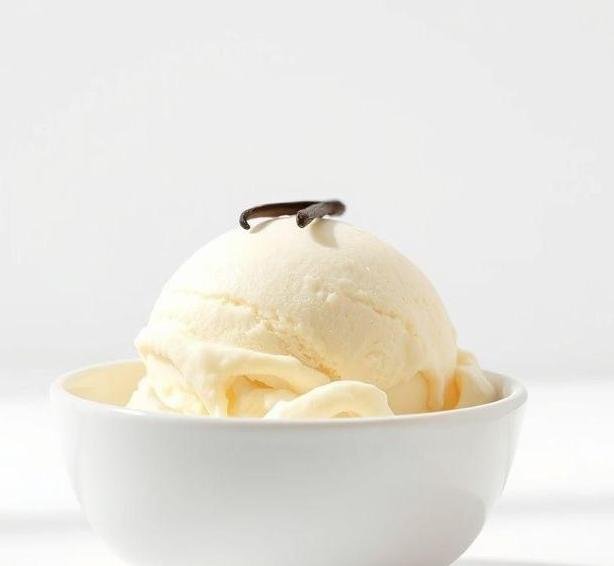
Mary Berry’s Easy Vanilla Ice Cream is a beautifully simple yet decadently creamy dessert that captures the essence of vanilla in every luscious spoonful. Renowned for her approachable and foolproof recipes, Mary Berry crafted this version to make homemade ice cream accessible to everyone-even those without fancy ice cream machines or advanced culinary skills. This recipe strikes the perfect balance between elegance and ease, combining rich creaminess with the warm, comforting flavor of vanilla. The end result is an indulgent treat that tastes like it belongs in an upscale café, yet requires only basic ingredients and minimal effort.
Unlike traditional ice cream recipes that call for complex custard bases and long chilling times, Mary’s method skips the fuss but never compromises on texture or flavor. The ice cream is silky smooth with a perfectly balanced sweetness and that unmistakable aromatic depth that vanilla beans provide. It’s ideal for summer gatherings, cozy winter desserts, or anytime you want a scoop of homemade happiness.
Mary Berry’s Easy Vanilla Ice Cream Recipe
Ingredients Needed
To create this simple yet luxurious ice cream, you only need a handful of classic ingredients-nothing exotic or difficult to find, which makes it perfect for spontaneous kitchen adventures.
- Double cream (heavy cream): The star of the show, double cream provides the rich, velvety body that transforms the mixture into creamy ice cream. Its high fat content is essential for that smooth texture.
- Condensed milk: This adds sweetness and a creamy consistency without the need to whip in sugar separately. It also helps stabilize the ice cream, giving it a luscious mouthfeel.
- Vanilla bean pod or pure vanilla extract: For authentic flavor, Mary often recommends scraping the seeds from a vanilla bean pod, which gives an intense, fragrant vanilla aroma and tiny black specks that look stunning in the final product. If you can’t find vanilla beans, good quality pure vanilla extract works beautifully too.
- Optional pinch of salt: To enhance the flavors and balance the sweetness, a tiny pinch of salt can make the vanilla notes pop even more.
That’s it! Four ingredients or fewer, yet the flavor and texture they yield are nothing short of gourmet.
Equipment Needed
One of the reasons this recipe is so beloved is because it requires very minimal equipment, making it accessible to home cooks with even the simplest kitchen setup.
- Mixing bowl: A large mixing bowl is needed to combine your ingredients comfortably.
- Electric hand whisk or stand mixer: While you can whisk by hand, using an electric whisk makes the process faster and ensures you achieve the perfect creaminess and lightness.
- Spatula: Useful for scraping down the bowl and folding the ingredients together gently.
- Freezer-safe container: You’ll need a container to store your ice cream in the freezer. Ideally, it should have a lid to prevent freezer burn and keep the flavors fresh.
- Measuring cups/spoons: To measure out your ingredients accurately.
No ice cream machine required here! The magic happens with simple whipping and freezing.
Instructions To Make Mary Berry’s Easy Vanilla Ice Cream
Now, the fun part-bringing it all together. Mary Berry’s recipe is designed for simplicity but delivers stunning results with clear, straightforward steps.
- Prepare your vanilla: If using a vanilla bean, slice it lengthwise and carefully scrape out the tiny seeds with the back of a knife. These fragrant seeds are key to getting that deep vanilla flavor and beautiful flecks in your ice cream.
- Whip the cream: Pour the double cream into your mixing bowl. Using an electric whisk, whip the cream until it forms soft peaks. The texture should be light and fluffy but still hold its shape gently when you lift the whisk.
- Add the condensed milk and vanilla: Gently fold in the condensed milk along with the vanilla seeds (or vanilla extract). Folding rather than stirring vigorously helps maintain the airy texture you created by whipping the cream. Add a pinch of salt here if you like.
- Combine thoroughly: Carefully fold the mixture until it is evenly blended, ensuring the vanilla is distributed throughout and the texture is smooth.
- Freeze: Transfer the mixture into your freezer-safe container and smooth the top with your spatula. Cover with a lid or cling film and place it in the freezer.
- Freeze time: Allow it to freeze for at least 4-6 hours, ideally overnight, until it is firm but scoopable.
No churning required! The whipped cream and condensed milk prevent large ice crystals from forming, giving you that creamy, soft ice cream texture straight from the freezer.
Tips And Tricks
- Use the freshest cream and best vanilla: Since this recipe is so simple, the quality of your ingredients really shines through. Opt for fresh double cream and authentic vanilla beans or pure extract for maximum flavor.
- Whip cream to soft peaks, not stiff: Over-whipping can cause the cream to turn grainy or start separating into butter. Stop when it holds gentle peaks.
- Folding technique matters: Be gentle when folding in condensed milk and vanilla to keep the airy texture. Vigorous stirring can deflate the cream and make the ice cream dense.
- Customize with mix-ins: Feel free to add chocolate chips, crushed cookies, or swirls of caramel once your mixture is ready, folding them in gently before freezing.
- Storage tips: Always keep the ice cream tightly covered in the freezer to prevent ice crystals forming on the surface. If the ice cream gets too hard, let it sit at room temperature for a few minutes before scooping.
Mary Berry’s Easy Vanilla Ice Cream is a testament to the power of simplicity in cooking. With just a few humble ingredients and straightforward steps, you can create a dessert that tastes like it took hours of effort and expert skill. It’s creamy, rich, and filled with the comforting warmth of vanilla-an absolute crowd-pleaser for any occasion.
Whether you’re a novice eager to try homemade ice cream or a seasoned cook looking for a quick, reliable vanilla base, this recipe delivers on flavor and texture every time. Plus, its minimalist ingredient list and no-machine method mean you can whip up a batch spontaneously, whenever the craving strikes.
So, gather your cream and vanilla, roll up your sleeves, and treat yourself to the magic of homemade ice cream with Mary Berry’s timeless recipe. It’s not just dessert-it’s an experience of pure, creamy joy.
Easy Recipe Variations For Mary Berry’s Easy Vanilla Ice Cream
Mary Berry’s Easy Vanilla Ice Cream is a classic foundation – simple, creamy, and incredibly versatile. But the beauty of this recipe lies in how effortlessly it can be adapted to suit your tastes or to add a creative twist that transforms it into something uniquely your own.
1. Intensify the Vanilla:
For a deeper, more aromatic vanilla flavor, try swapping out the standard vanilla extract for vanilla bean paste or even scraping the seeds from a fresh vanilla pod directly into the ice cream base. The flecks of vanilla bean add both visual appeal and a fragrant intensity that’s hard to beat. Alternatively, a splash of Madagascar vanilla extract offers a rich, warm undertone.
2. Add Mix-Ins:
Once the base is prepared, fold in your favorite mix-ins before freezing. Think crushed biscuits like digestive or shortbread for a delightful crunch. Toasted nuts – almonds, pecans, or pistachios – add a buttery, nutty texture. For a burst of indulgence, swirl in ribbons of caramel sauce, chocolate chips, or even fresh fruit compotes like raspberry or strawberry.
3. Infuse with Flavors:
Don’t be afraid to infuse the milk or cream with flavors before chilling. A few sprigs of fresh mint, lavender buds, or even a cinnamon stick gently simmered in the cream will impart subtle floral or spicy notes. Strain them out before combining with the other ingredients to maintain a smooth texture.
4. Boozy Boost:
For adults, incorporating a splash of liquor – think Amaretto, Kahlúa, or a good-quality bourbon – can elevate the ice cream to a sophisticated dessert. Just be mindful not to add too much, as alcohol can interfere with freezing.
5. Dairy-Free & Healthier Swaps:
If you want a lighter or dairy-free version, substitute the cream and milk with coconut milk or almond milk. While the texture will be less rich, the tropical or nutty undertones pair beautifully with vanilla. Add a little cornstarch or a banana to help thicken the base.
With these variations, Mary Berry’s Easy Vanilla Ice Cream becomes not just a dessert, but a canvas for creativity.
Storing Leftovers
Properly storing your leftover vanilla ice cream is key to preserving its creamy texture and fresh flavor. Here’s what you need to know to keep your ice cream tasting its best for as long as possible:
1. Choose the Right Container:
Transfer your ice cream to an airtight, freezer-safe container as soon as possible. Ideally, use a shallow container with a tight-fitting lid to minimize air exposure, which causes freezer burn and ice crystals.
2. Prevent Ice Crystals:
After scooping, smooth the surface of the ice cream with a spatula, then press a piece of parchment paper or cling film directly onto the surface before sealing the container. This barrier helps prevent ice crystals from forming.
3. Temperature Matters:
Store your ice cream at the back of the freezer, where the temperature is most stable and coldest. Avoid frequent temperature fluctuations by minimizing how often you open the freezer door, which can cause the ice cream to soften and refreeze unevenly, ruining its texture.
4. Shelf Life:
For optimal flavor and texture, consume your stored ice cream within 2 weeks. Beyond that, it may develop off-flavors or become icy and grainy. If you notice ice crystals or a change in taste, it’s best to refresh with a homemade batch.
5. Thawing Tips:
When ready to serve leftovers, let the ice cream sit at room temperature for 5-10 minutes to soften slightly, making scooping easier without melting it completely.
Following these simple storage tips means every scoop stays as delicious as the first.
What To Eat With Mary Berry’s Easy Vanilla Ice Cream?
The simplicity of Mary Berry’s Easy Vanilla Ice Cream makes it a dream accompaniment to an astonishing variety of desserts. Its creamy, subtly sweet flavor provides the perfect balance, enhancing and complementing other treats rather than overpowering them.
1. Classic Pairings:
Warm apple pie or crumble with cinnamon and nutmeg, served with a generous scoop of vanilla ice cream, is a timeless pairing. The contrast between the hot, spiced fruit and cold creamy ice cream creates a harmony of textures and temperatures that’s irresistible.
2. Chocolate Lovers’ Dream:
Pair this vanilla base with rich chocolate brownies, molten lava cakes, or a thick chocolate fudge sauce drizzle. The vanilla ice cream’s subtle sweetness cuts through the intensity of the chocolate, creating a balanced, indulgent experience.
3. Fresh Fruit & Berries:
For a lighter touch, serve with fresh strawberries, raspberries, or mango slices. A drizzle of honey or a sprinkle of toasted coconut on top elevates the dish into a refreshing summer treat.
4. Sauces & Toppings:
Don’t underestimate the power of toppings. Warm caramel sauce, crunchy praline, crushed cookies, or a sprinkle of cinnamon can transform each bite. For a festive twist, try adding a spoonful of spiced chutney or tangy citrus curd alongside.
5. Baked Goods:
Think freshly baked waffles, crepes, or pound cake. The ice cream melts slightly over these warm treats, creating a luscious sauce that’s pure comfort food.
6. Exotic Touch:
Try pairing with a sticky ginger pudding or cardamom-spiced dessert for a fusion of flavors that’s both surprising and delightful.
The versatility of vanilla ice cream means it’s the perfect partner for any dessert mood.
Conclusion
Mary Berry’s Easy Vanilla Ice Cream isn’t just a recipe – it’s a gateway to endless dessert possibilities. Its straightforward preparation makes it accessible for all skill levels, yet it remains delightfully indulgent. Whether you stick to the classic creamy vanilla or experiment with exciting variations, this ice cream offers a canvas for personal expression and creativity in the kitchen.
Knowing how to properly store leftovers ensures that none of that homemade goodness goes to waste, keeping each serving as fresh and luscious as the first. And when it comes to pairing, the humble vanilla scoop becomes the perfect partner for everything from warm, comforting pies to vibrant, fresh fruits and rich, decadent chocolates.
In short, Mary Berry’s Easy Vanilla Ice Cream is a true kitchen staple – one that invites you to savor, experiment, and share joy with every spoonful. So, why not whip up a batch today and discover your own favorite way to enjoy this classic delight?
FAQs
What Ingredients Are Needed For Mary Berry’s Easy Vanilla Ice Cream Recipe?
Mary Berry’s easy vanilla ice cream recipe requires simple ingredients: double cream, whole milk, caster sugar, vanilla extract, and egg yolks. These ingredients come together to create a creamy, smooth texture and rich vanilla flavor. The key to achieving the perfect consistency is to ensure the mixture is properly chilled and whisked.
Can I Make Mary Berry’s Vanilla Ice Cream Without An Ice Cream Maker?
Yes, you can make Mary Berry’s vanilla ice cream without an ice cream maker. After preparing the ice cream mixture, pour it into a freezer-safe container and freeze it for about 4-6 hours. Every 30 minutes, use a fork to stir the mixture, breaking up any ice crystals. This manual stirring technique will help achieve a smooth and creamy texture.
How Long Does It Take To Prepare Mary Berry’s Easy Vanilla Ice Cream?
The preparation time for Mary Berry’s easy vanilla ice cream is relatively quick, usually taking around 20-30 minutes to combine the ingredients and cook the custard. However, you will need to allow additional time for the ice cream to chill and freeze, which typically takes 4-6 hours. If using an ice cream maker, the freezing time may be reduced to about 2-3 hours.